So I set out to turn a half cut up sweater of mine, into something dapper for my little fellow to wear... and here's how I managed it...

Here is what I was left with:


Then it was time to figure out where my arm holes would be. To do this, I first cut both the arm pieces that I had at the tops at a roughly 45 degree angle and measured that line. I laid it along the body of the sweater I was building, where my sleeves would go, and traced out a curved line that matched in inches with the opening of the shoulder of the sleeve. I made each side identical.

Then I cut the sleeve openings. ... at this point I considered turning it into a vest, but I really wanted to see how this whole sleeve experiment would work out, so I forged ahead.

It appears, I am missing one of the important photos that shows the attachment of the sleeves to the arm holes. First I serged the shoulder seams and then flipped the "sweater" inside out. I flipped the sleeves inside out as well and placing right sides and seams together, I pinned all the way around the arm hole and used a stretch serge stitch to sew all the way around.
Now, we'll move on to the neckline. I took the neckline off and began to pin it down backwards to the front of the shirt because I did not want it top-stitched down, I wanted a hidden seam where the neckline attached to the body of the shirt.
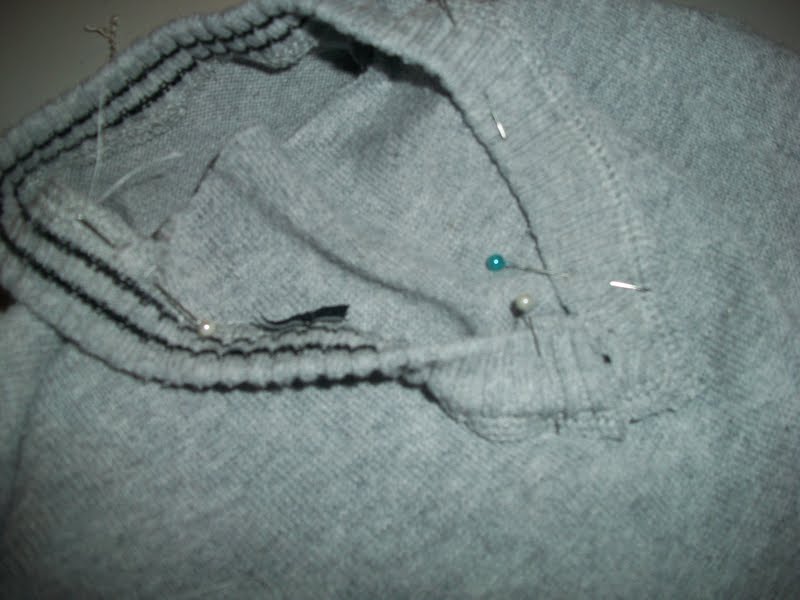
Once I had it all pinned down I cut out the excess of the shirt and with the sweater inside out, attached the neckline with the same serge stitch I had used on the arms.
It looked like this:

NOTE: on the photo above you can see where I connected the neckline to itself (where I had cut the four inch chunk out of the neckline)... I decided that I would put some sort of embellishment to hide this ugly seam.
below is a picture of the sweater all but completed, with the neckline attached, as well as the sleeves.

And here's the embellishment I mentioned above; three little wooden buttons added just the right amount of charm and hid that seam brilliantly.

And I would say, other than the dirty little face; my little gentleman cleans up rather well in it, no?

Here's to sewing for our boys!
****
Also, don't forget changes to the blog should be up and running tomorrow as it is the one year anniversary of the blog. Check here for a special post, a giveaway and of course a couple cool new things design wise. Bear with me if the transitions are a little groggy and remember that my email address is a(dash)winkel(at)hotmail(dot)com if you need to email me and ask what the heck is going on.
No comments:
Post a Comment