There are several tutorials out there I'm sure on how to make these little dolls, so I"m not purporting that this is THE WAY to do it, but I've been tweaking it now for a while and like the results to here's my version of a clothespin doll. Ready?
Let's go!

At least one wooden clothespin ( I found these at Micheals)
Fabric Scraps ( at least enough to cut a rectangle 3.5 " X 2 ")
A hot glue gun.
Regular scissors for snipping threads
Pinking Shears for cutting fabric (no sewing...yay!)

Next you will place a small bead of glue at the top of the clothespin above where the face will be in a thin line.
This is where you will start applying the hair.

like the photo below:


Tie a little bow around the hair if you wish, or you can get fancy and braid it etc.


Now you will measure out the floss for her top and knickers.
Let's do the knickers first.
You will measure out about 2 feet of the floss for the knickers and about 1 foot for the top.

Place a small thin bead of glue along the waistline of the doll. This is where you will adhere the floss for the knickers and begin winding the floss around the body of the doll traveling down the body as shown below:


Still using the glue gun, make a dot at the top inside corner of the opposite leg that has not been wound and begin your floss again here so that you can wind it around this leg to match the first leg you wound. Finish it off the same way.
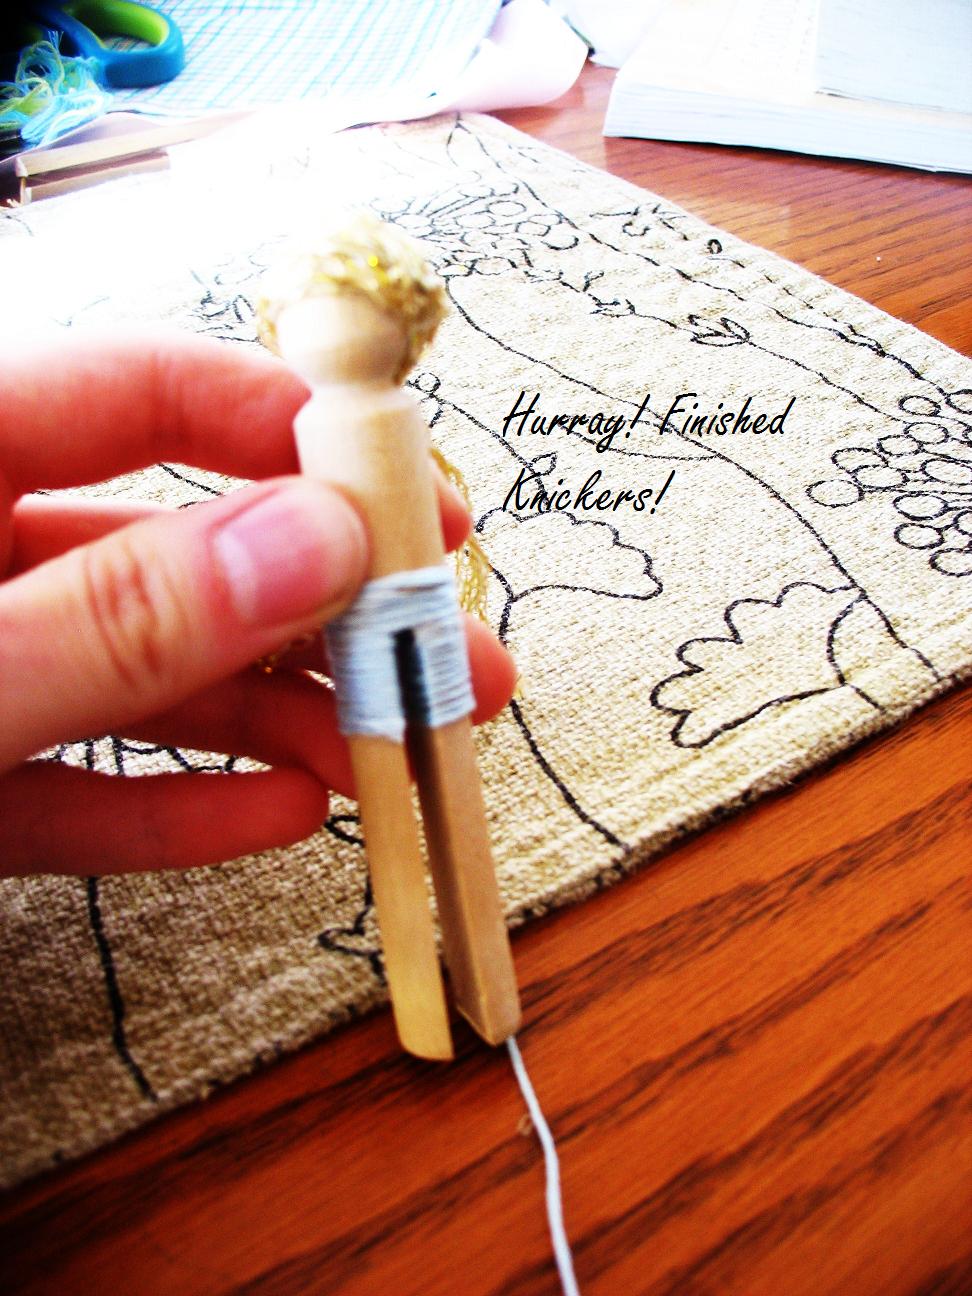
You should have little knickers that look something like the photo above. Yes? GOOD!
Now let's move on to her dress:
Measure and cut a small rectangle using pinking shears in rougly the dimensions shown below:

Once you have cut your fabric fold it in half and cut a quarter crescent shape from the rough edge to the folded edge as shown below:

This will help the little dolls dress to flare out when we attach it to her.

Back to the glue gun we go! Place a small thin bead at the waistline of the doll once again just above the knickers. This is where we will begin attaching the skirt.
It is important to note before beginning to attach the skirt. We will be attaching the skirt with the top of the skirt folded under itself. As you attach the skirt you will keep it folded over and make small pinches with your fingertips as you go to create pleats. You will have to work quickly before your glue dries or go bit by bit back and forth from the skirt to the glue gun. It's a little tricky, but I know you can do it!


Here's how we first attach the skirt with the right side facing into the glue.
then we fold it over as seen below:


Tired yet? We're in the home stretch, and she looks fabulous!


Guess what?
You're done!

Congrats, she's gorgeous!!!!
No comments:
Post a Comment