Sadly, the sleeves were already getting a little short after one season, but this shade of green is just to gorgeous to go quietly into the give-away bag. So, following some tips from this tutorial, I decided to shorten things up on the sleeves and then get a little fancy on my own with embellishing this little dress into a little something for Easter.

To start this project for yourself, lay your dress flat on your work table inside out.
(yes, I know mine is right side out... but do as I say, not as I do :)

Then I used another T-shirt that still fits and get's a lot of wear to use as a template for where I wanted my capped sleeves to end. I drew a line straight across the arm at the same angle as the template sleeve (making sure to leave allowance for where my gathering was going to be (about 1/2 inch).
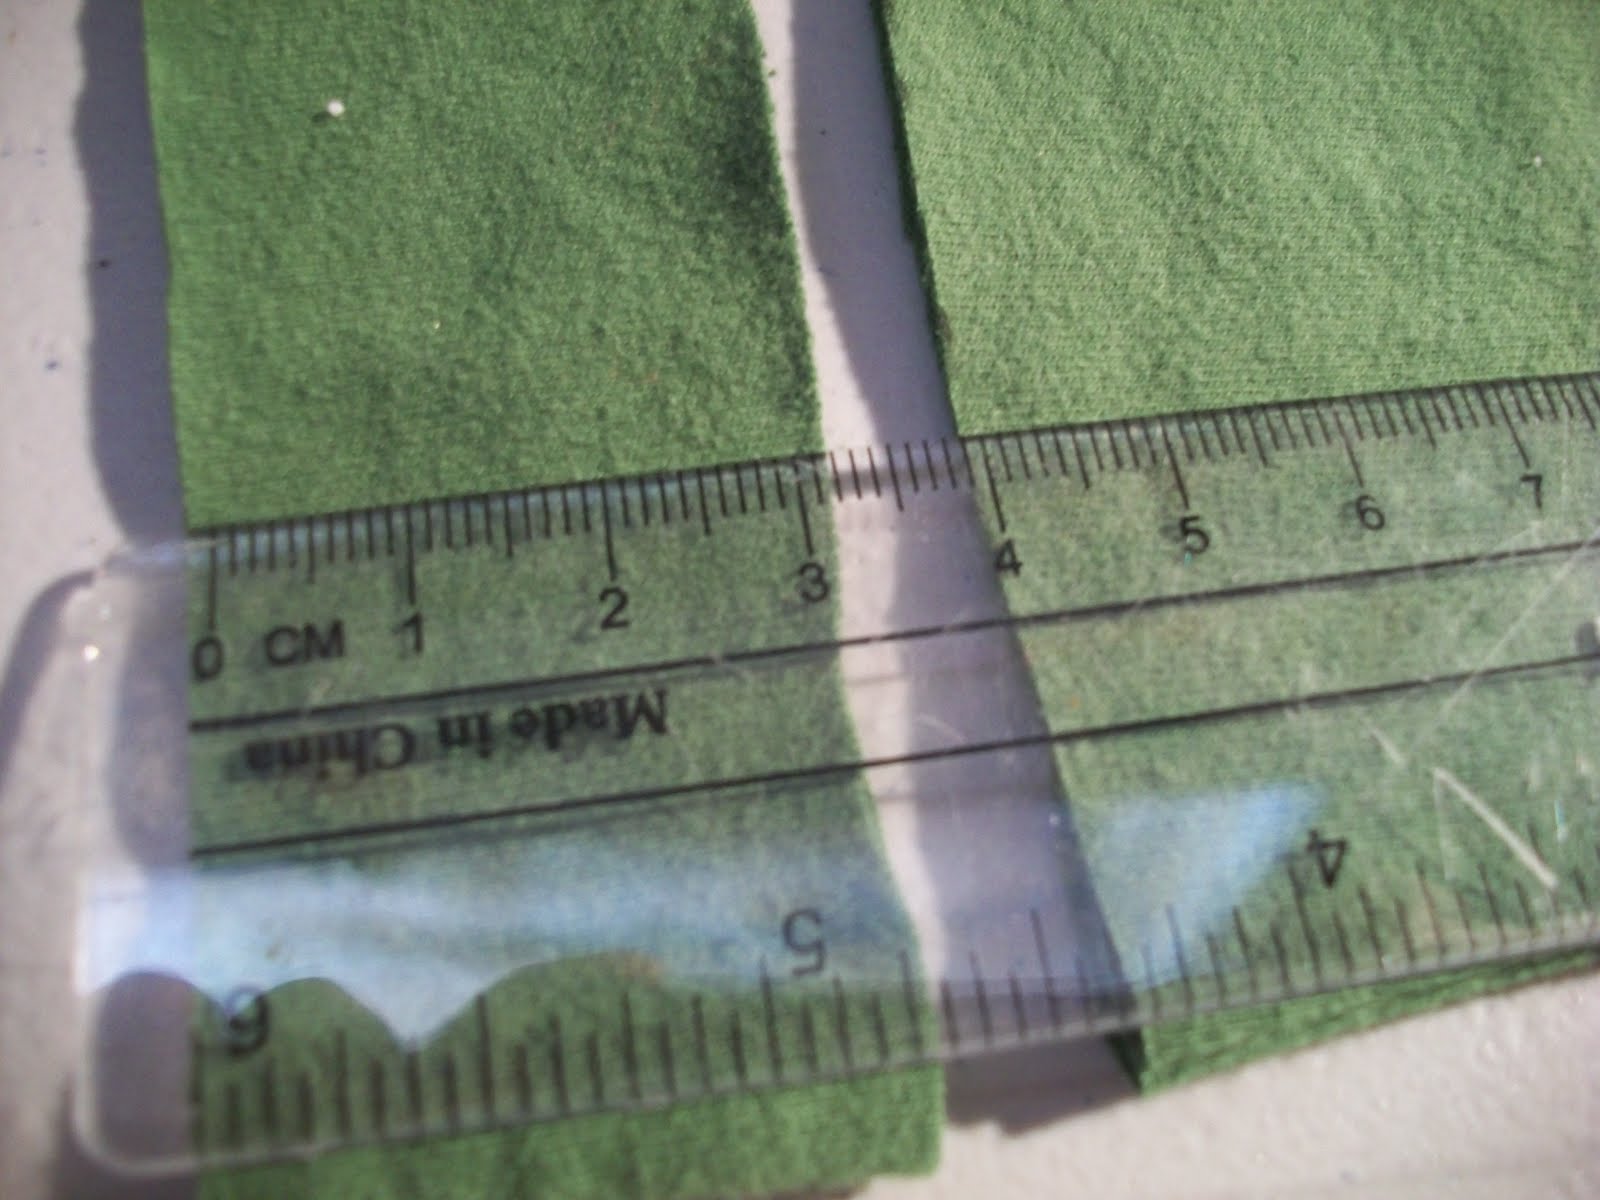
With the leftover sleeves that were then cut off, I measured and cut strips that were 3 cm. wide off of each one.

See? Here's my two strips (they are tubes really,
because I cut them off of the sleeve tube- make sense?)

This is the raw edge of my sleeve that has been cut now, (where my thumb is in the photo is where we're going to start sewing).
Using a long basting stitch, sew a straight line across the sleeve about a 1/4 to 1/2 an inch from the edge.

like so.

Now, gather that basting stitch by pulling the top thread and holding the bottom thread still and tight. ( I tie one end of my threads together to prevent myself from pulling my top thread out altogether and just for keeping everything secure.)
Arrange your gathers evenly and do the same to other sleeve.
Then set the dress aside for a minute;
we're heading back to those 3 cm. wide tubes you cut earlier.

So, what you want to do is iron that little tube in half using the proper iron setting and it should look something like the photo above. This is going to be the cuff of your gathered sleeve in just a minute, so I will refer to it as "the cuff".

Take that little folded cuff and line up it's seam with the bottom (armpit side) seam of the sleeve (opposite your gathers). Pin it.

Here's the trickiest part so far-- evening out all those gathers and pinning the cuff all the way around the raw edge of the sleeve.

Here's another view of the pinned cuff and sleeve from the other side of the cuff.
It is important to note that you want to pin the cuff where it will be sewn to your raw edged sleeve and you want your joining seam to go through both edges of the cuff as well as the sleeve and to have that basting stitch that you pulled to gather INSIDE your joining seam. So that is why in the photo, the gathered raw edge sticks out further than the edge of the cuffs.

Now, if your sewing machine is anything like mine, you are going to select a stretch stitch commonly known as a "Serger Stitch" It is the Letter "H" in blue, here on my machine. (of course if you have a serger, then go ahead and use it... aren't you lucky :) )

Again, if your machine is anything like mine, you have to place your settings to STRETCH STITCH in order for the machine to do this stitch properly. And if you are sewing a knit fabric like I am in this project, this stitch is amazing!!!!!

So stitch all the way around that sleeve and VOILA! Turn that puppy inside out and this is what you should have-- a little gathered, capped sleeve! Now because you've serged the inside, you shouldn't have to press down any allowances; in fact you can trim them close to the serge stitches (just don't cut your stitching open of course).
Isn't that just brilliant?

Here's what the little dress looked like after both sleeves were done. But I felt it still needed a little something. It has a sweet little dropped waist and just seemed to scream "Make something vintage for the bodice!" (but of course it yelled it in a sort of sweet,
"Shirley Temple" sort of way :)

I had these little strips of stretchy Ivory lace that I had salvaged from the bottom of a badly stained little pair of ivory leggings and pinned them in place before using a stretch zig zag stitch to attach them to the front of the dress.
I used ivory thread in a polyester cotton blend so that my stitches were virtually invisible and I used a very long thin zig zag stitch down each piece twice.

The finishing touch was to attach three of these sweet vintage ivory buttons that I had been saving for just the right project.
Yes, I think this was just the right project indeed.

All kinds of sweet, all kinds of Vintage and all kinds of "no-fuss" for little girl who likes to run around in the dirt, minutes before heading to Sunday School (thus the muddy tights).
Any questions? Leave them in the comments or use my contact info from the "About Me" page in the top toolbar!
Happy Sewing!
No comments:
Post a Comment